
Here, you will learn how to create a new ASP.NET Web API project using Visual Studio.
You can create a Web API project in this ways.
- Web API with MVC Project
Web API with MVC Project:
Visual Studio 2017 for Web includes Web API template which creates a new Web API project with ASP.NET MVC application and includes all the necessary references to get started.
For this, open Visual Studio 2017 for Web and click on File menu and click on New Project. This will open New Project popup as below.

In the New Project popup, expand Visual C# and select Web node in the left pane. Select ASP.NET Web Application template in the middle pane and enter the name of a project and click OK.
This will open New ASP.NET Project popup as shown below.
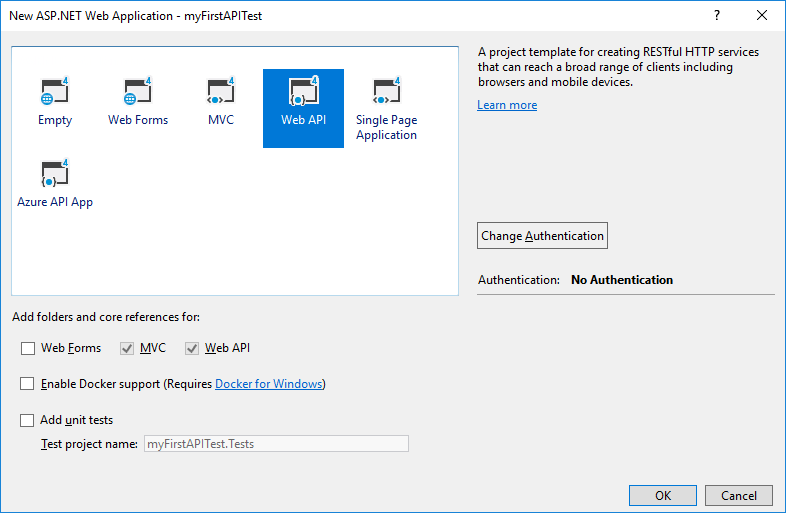
Select Web API in the above popup. Notice that this has selected and disabled MVC and Web API checkboxes. It means that it will add necessary folders and references for both MVC and Web API.
Click Ok to create a new Web API + MVC project as shown below.
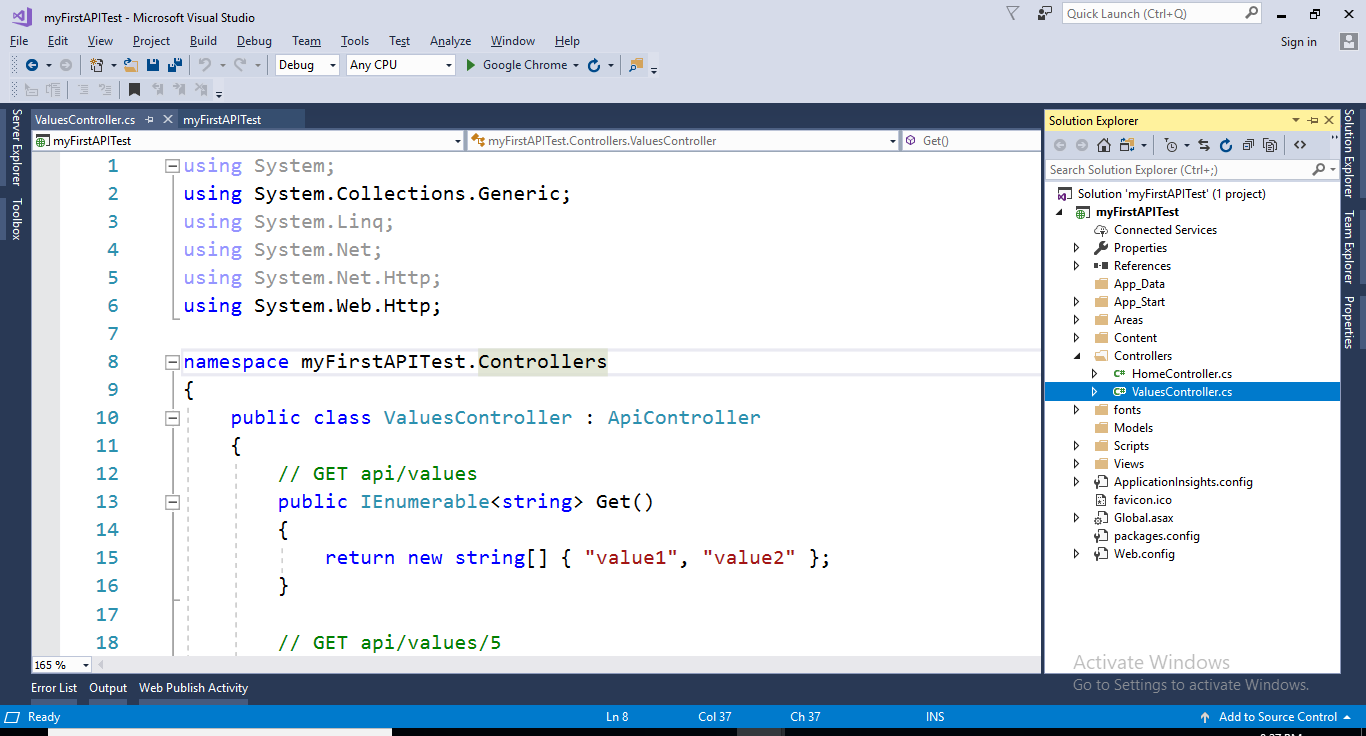
This project is same as default MVC project with two specific files for Web API, WebApiConfig.cs in App_Start folder and ValuesController.cs in Controllers folder as shown below.
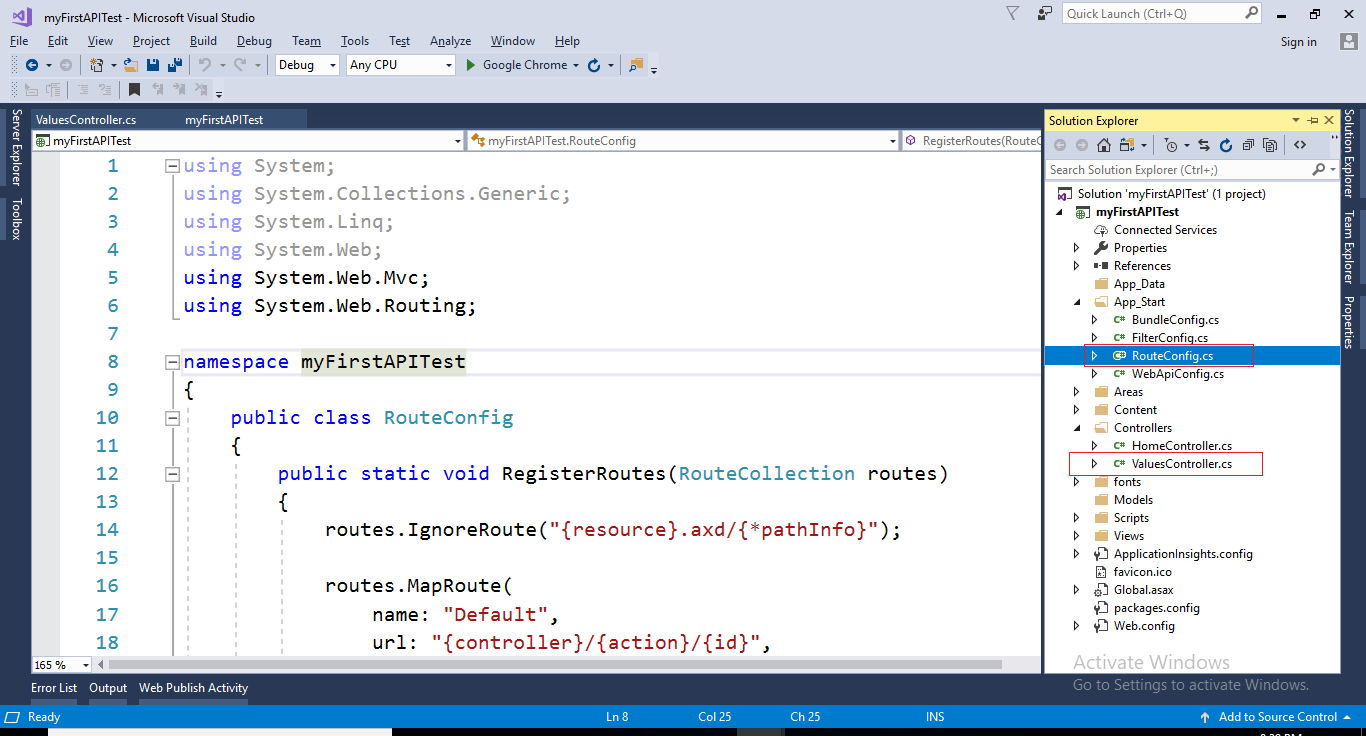
The WebApiConfig.cs is configuration file for Web API. You can configure routes and other things for web API, same like RouteConfig.cs is used to configure MVC routes. It also creates Web API controller ValuesController.cs by default. You will learn about WebApiConfig and Controller in the next section.
Thus, you can create Web API project with MVC to get started on your application.