
First ASP.NET Core Application
Here, we will learn how to create our first .NET core 2.0 application. We will use Visual Studio 2017 to create ASP.NET Core 2.0 web application.
The first step is to open Visual Studio. Click on File->New, and click on Projects.
In the New Project dialog box, click on the Templates node. Expand the Templates node, then expand Visual C#, and click on the Web template.
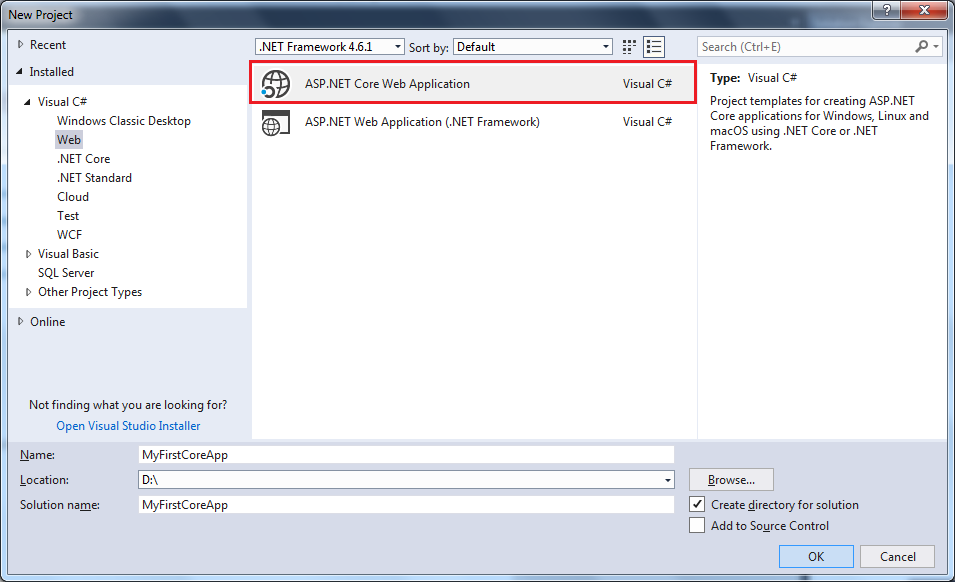
As shown above, the middle pane on the New Project dialog box includes the following two templates for ASP.NET Web projects:
- ASP.NET Core Web Application - Select this template to create a new crossplatform compatible ASP.NET Core web application project that runs on the .NET Core framework.
- ASP.NET Web Application (.NET Framework) - Select this template to create a new ASP.NET web application project that runs on standard .NET Framework.
Here, we want to create a cross-platform ASP.NET Core web application. So, select ASP.NET Core Web Application template. Give the appropriate name, location, and the solution name for the ASP.NET Core application. In this example, we will give the name MyFirstCoreApp, and click on the OK button. This will open another popup as shown below.
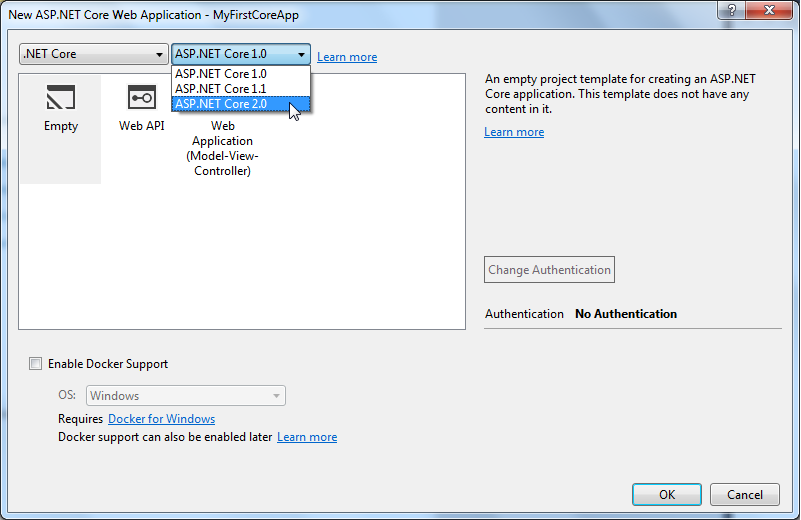
As you can see, we can select the version of the framework we want to use in our application. We are going to use .NET Core 2.0 framework here. So select ASP.NET Core 2.0 in the dropdown as shown below.
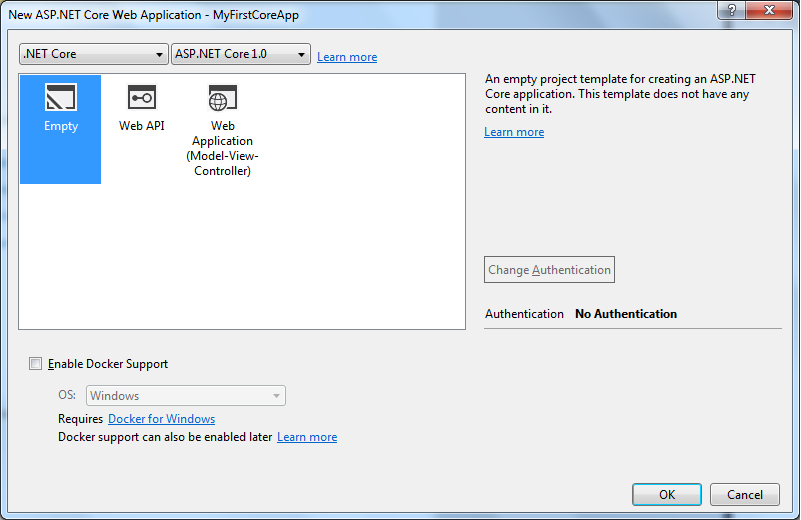
Now, select an Empty ASP.NET Core template in order to understand the basics of ASP.NET core web application. We will not use Docker support or authentication here, so click on OK to create an ASP.NET core web application as shown below.
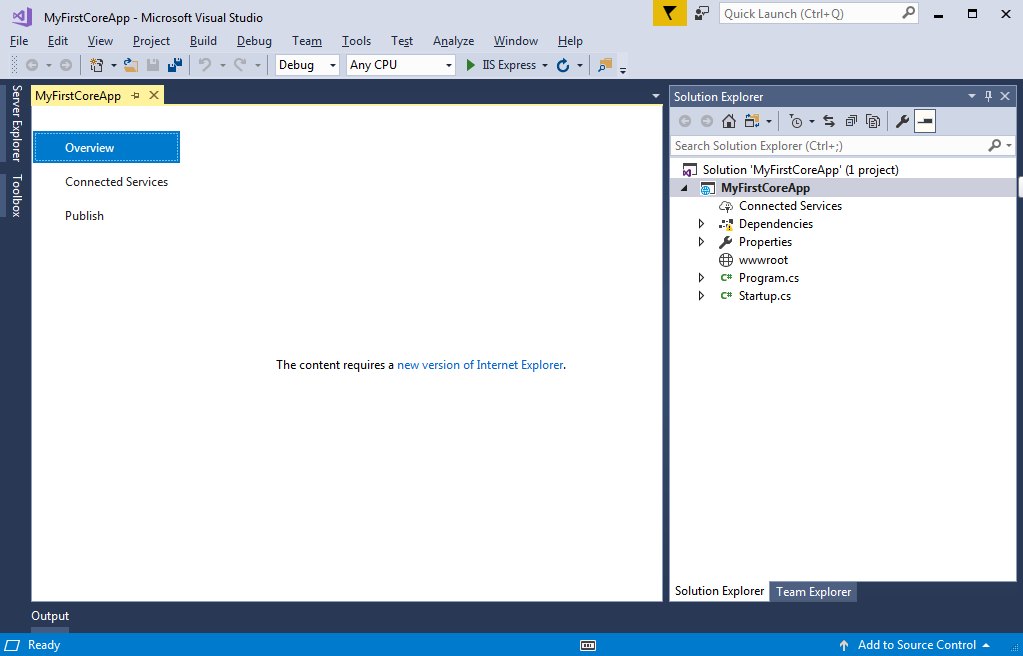
Wait for some time till Visual Studio restores the packages in the project. Restoring process means Visual Studio will automatically add, update or delete configured dependencies as NuGet packages in the project. The entire project structure of the created project will look like below.
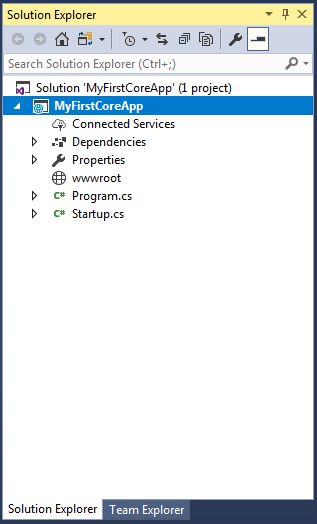
We will understand the project structure in the next chapter. To run this web application, go to Debug menu and click on Start without Debugging, or press Ctrl + F5. This will open the browser and display the following result.
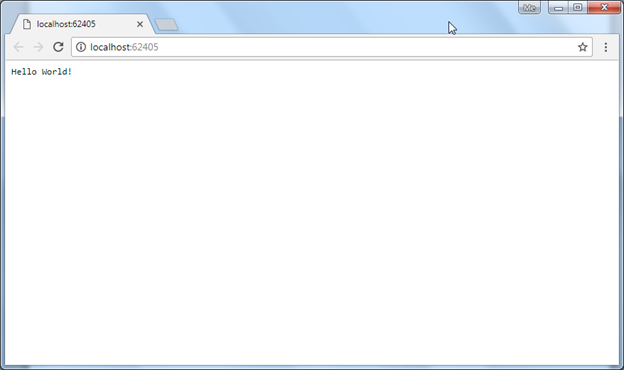
The above output "Hello World!" comes from the Configure method of Startup class in the Startup.cs file in the project. Open Startup.cs file and see Configure method. Change "Hello World!" string to something else and it will change the output accordingly. Learn about Startup class in the Startup.cs chapter.
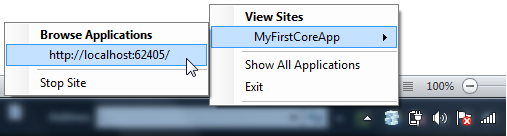
You can also see the IIS express icon on the system tray. Right click on it. You can see the ASP.NET sites currently running in your development machine.
This is how we can create a new cross-platform ASP.NET core application that runs on .NET Core. Learn about the ASP.NET Core project structure in the next chapter.