
ASP.NET Core - Development Environment Setup
To develop ASP.NET Core application, the following must be installed in your system:
- .NET Core SDK
- Integrated Development Environment (IDE)
ASP.NET Core is a part of .NET Core SDK, so you don't need to install it separately. As of this writing, the current release is .NET Core 1.1. Read .NET Core Release Notes to know more about all the releases.
Install .NET Core SDK:
.NET Core SDK can be installed on the platform you are using such as Windows, Linux or Mac.
Go to https://www.microsoft.com/net/core and select the platform you are using. Here, we use Windows so select Windows as shown below.
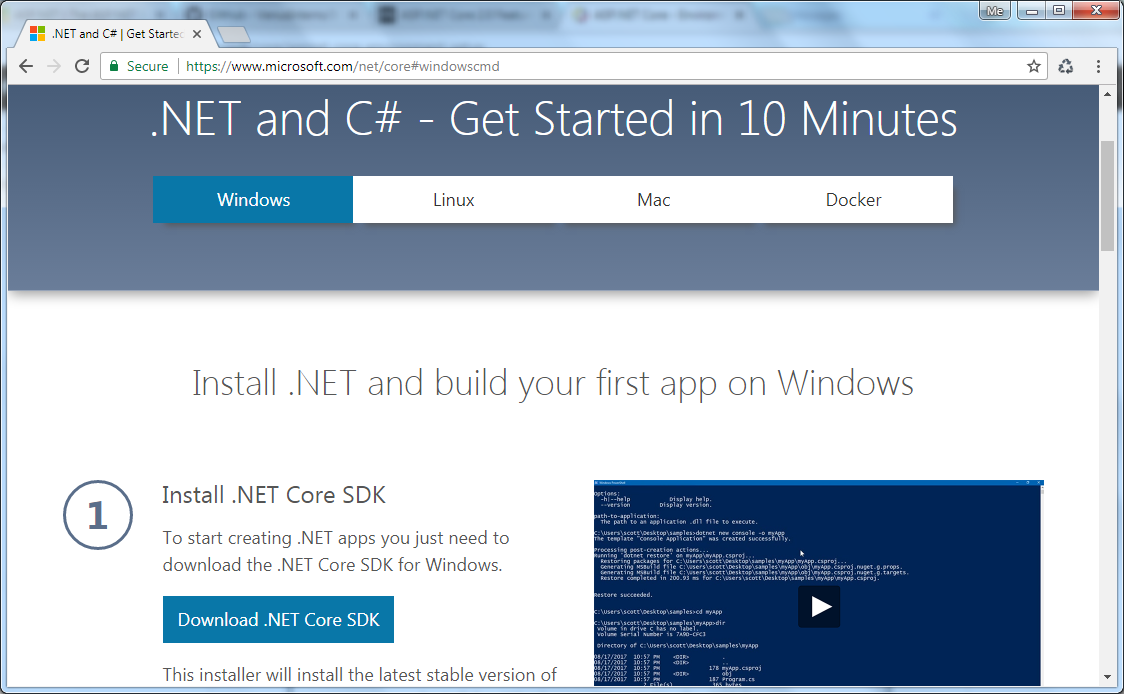
As you can see above, click on the Download .NET Core SDK button to download the latest version of .NET Core SDK installer. It will download .NET Core 2.0 SDK as of this writing.
Alternatively,
Download .NET Core SDK: Download .NET Core SDK for different platform from here.
Download .NET Core Runtime: Download .NET Core Runtime for different platform from here. Remember, .NET Core runtime is used only to run .NET Core application but not for the development.
After downloading installer, click on it to start the installation of .NET Core 2.0 SDK.
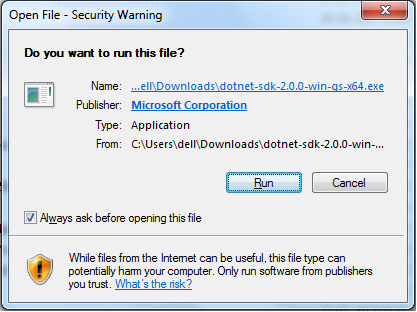
Click Run to go to the next step as shown below.
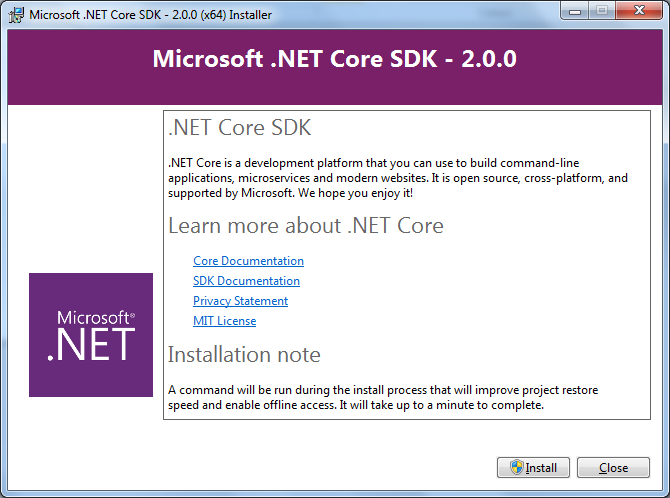
Click on Install button to install .NET Core 2.0 SDK.
IDE:
You can develop, restore, build and run .NET Core application either with Visual Studio or with command line interface for .NET Core. Here, we will use Visual Studio 2017 to develop .NET Core 2.0 applications.
Visual Studio 2017:
You can download Visual Studio 2017 installer from the same page https://www.microsoft.com/net/core. Click on the Download Visual Studio button to download Visual Studio 2017 Community edition. Alternatively, you can go to https://www.visualstudio.com/downloads/ and download installer for the specific Visual Studio edition.
After installation, you can start to create .NET Core applications.
Command-line Interface (CLI):
If you do not use Visual Studio for .NET core application development for some reason and want to use different IDE then you can use command-line interface to create, compile, build, restore and run .NET Core application.
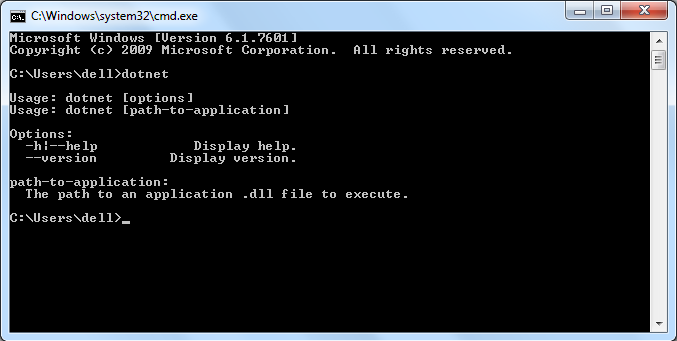
.NET Core SDK installation also installs command-line interface for the selected platform. It installs the latest stable version of the tools and put them on your PATH so you can run dotnet from the Console.
Once installed, you can verify it by opening command prompt and type dotnet and press Enter. This will display installed version and usage information as shown below.
After installation, let's create our first ASP.NET Core application in the next chapter.